Candle making at home: the double boiler method
A double boiler for candle making is just wax in a pitcher standing in simmering water. Work out how much wax and oil to weigh out, then follow the 10 steps.
- Wax to melt
- 26.8 oz
- 759 g · 1.7 lb
- Fragrance oil
- 1.6 oz
- 46 g
Each candle: 6.7 oz (190 g) wax and 0.4 oz (11 g) oil. Weigh both on a kitchen scale, and melt a little extra.
The rule: a jar holds about 85% of its water weight in wax (NorthWood Candle & Craft), and the fragrance load is the oil’s weight as a share of the wax’s (CandleScience). Jar sizes are fluid ounces.
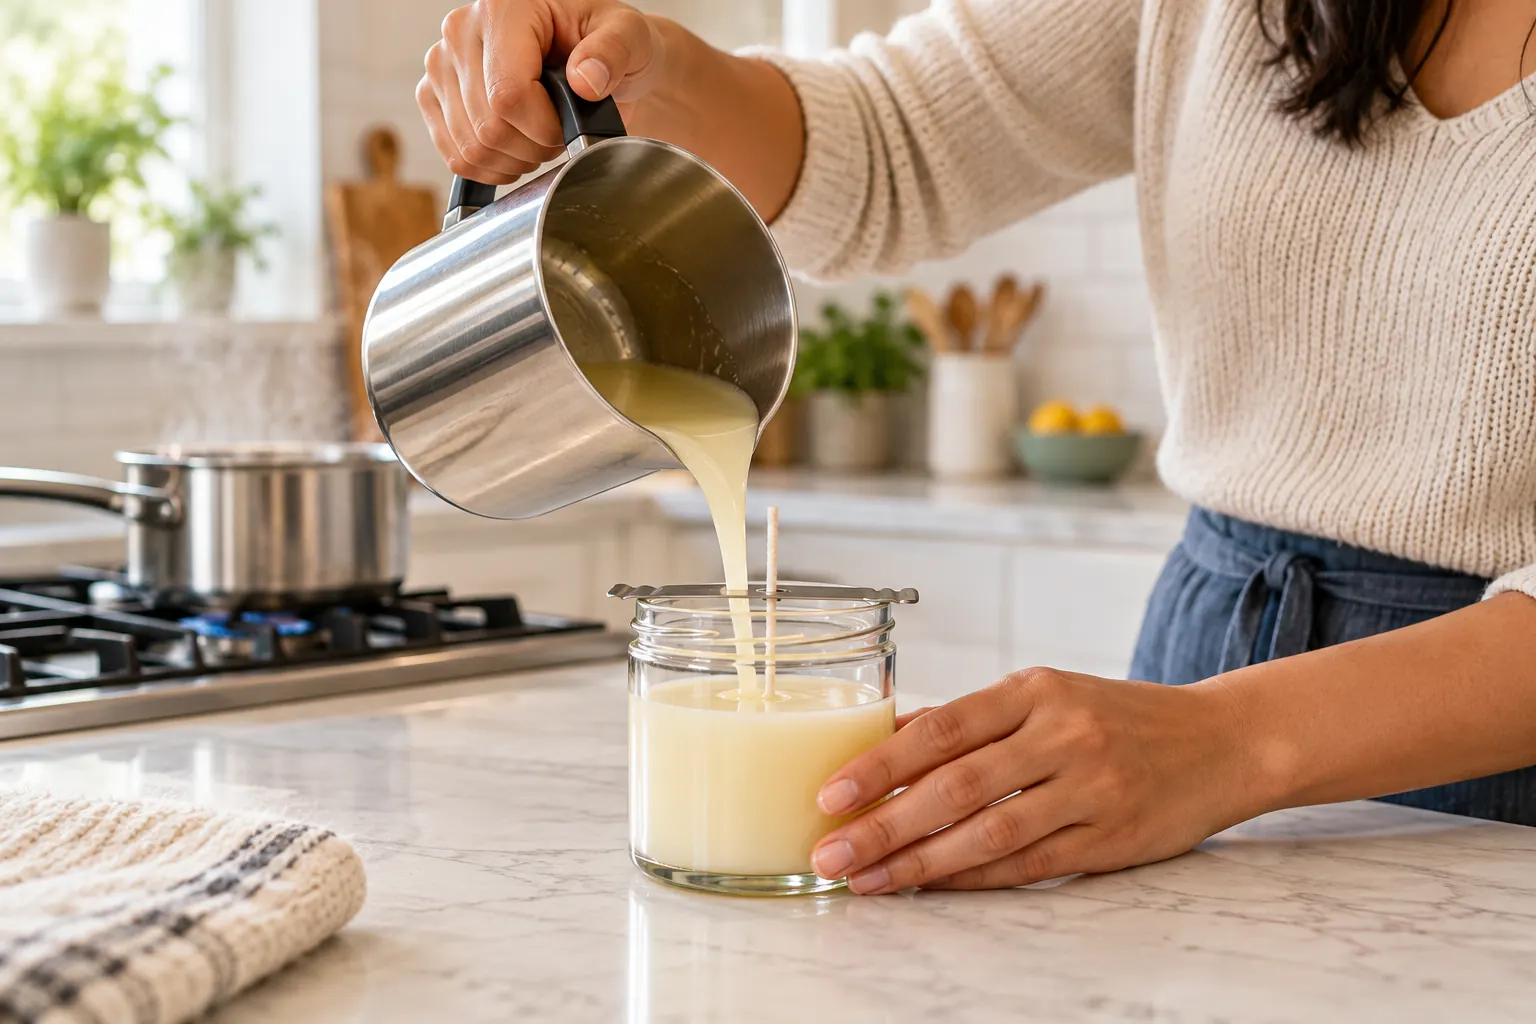
You don’t need to buy a double boiler for candle making. A pouring pitcher or a glass jar in a saucepan of simmering water melts wax gently and evenly, with a thermometer telling you when it’s ready. This page shows three ways to rig one, the 10 steps from melting to curing, the temperatures for each wax, and what to do when a candle tunnels, sinks or frosts.
Do you need a double boiler for candle making?
No. Any of these three setups does the job: the water around the wax never gets hotter than a boil, so the wax melts gently instead of scorching.
- Pot and pouring pitcher. Stand a metal pouring pitcher in a saucepan with 2 to 3 inches of water. The handle and spout make the pour safe, and it is what candle suppliers use.
- Pot and heatproof glass jar. A canning jar or glass measuring cup sitting on a canning ring in the water, so it never touches the pot's floor. Fine for one or two small candles; hold it with an oven mitt.
- A dedicated melter. A stainless double boiler set or an electric water-jacketed wax melter. Worth it only if you make candles every month or pour big batches.
Whichever you pick becomes a wax tool for good, so never cook in it again. If you buy one thing, buy the pitcher: the handle and spout make the pour easy to control.
How to make candles with a double boiler in 10 steps
You need wax, wicks with stickers, jars, fragrance oil, a kitchen scale, a thermometer and something to hold the wick straight.
- Weigh the wax. Use the calculator above and a kitchen scale. Flakes pack unevenly, so cups and spoons are never accurate.
- Set the wick. Stick a wick to the center of a clean, dry jar's bottom with a wick sticker. For fewer wet spots, warm the jars to about 100°F first.
- Heat the water. Pitcher in the pot, heat on medium-low to a gentle simmer, not a boil. Top up the water as it evaporates, and keep every drop out of the wax.
- Melt with a thermometer in. Stir now and then to break up clumps, and read the temperature, not the look of the wax.
- Heat to the fragrance temperature. Most container waxes go to 185°F so the oil binds to the wax. Check the table below for yours.
- Add fragrance and stir. Weigh the oil, pour it in, take the pitcher off the heat and stir gently for two minutes. Add dye at the same time if you use it.
- Cool to the pour temperature. About 135°F for 464 soy, about 170°F for 454 coconut soy and 4630 paraffin. The table below has each.
- Pour slowly. Pour close to the jar and leave about half an inch at the top. Save a little wax in the pitcher for topping off.
- Center the wick and let it set. Hold the wick straight with a wick bar or clothespin across the rim. Let the candles cool at room temperature, spaced apart and away from drafts.
- Trim and cure. Trim the wick to 1/4 inch. Let soy and coconut blends cure about two weeks before burning for the best scent, paraffin about five days.
Homemade candles make good holiday party favors and a safe bet for a white elephant gift.
Candle wax temperatures by wax type
Heat to the first number, add the oil, then cool to the pour temperature. Each wax is one common example of its type.
| Wax | Add oil at | Pour at | Max oil | Cure |
|---|---|---|---|---|
| Soy (Golden Brands 464) | 185°F | 135°F | 10% | 2 weeks |
| Coconut soy (Golden Brands 454) | 185°F | 170°F | 10% | 2 weeks |
| Paraffin (IGI 4630) | 185°F | 170°F | 10% | 5 days |
| Beeswax (Yellow beeswax) | 185°F | 175°F | 6% (pillars) | 2 weeks |
Figures from CandleScience’s wax guide and product pages, October 2026. Blends differ, so the sheet for the wax you buy wins.
The fragrance load rule. Fragrance load is the oil’s weight as a share of the wax weight. CandleScience suggests starting at 6%, about 1 oz of oil per pound of wax, and staying at or under the wax’s maximum. More oil isn’t always more scent: too much can cause burn problems and makes frosting more likely.
- Soy. Melts low and pours cool, so it is forgiving for a first candle. It can frost, which is only cosmetic.
- Coconut blends. Creamy, with smooth tops. CandleScience points first-timers to its coconut apricot wax.
- Paraffin. Glossy, pours hotter and cures in about five days. CandleScience doesn't recommend melting it in a microwave.
- Beeswax. Melts hotter and is hard to wick, so CandleScience doesn't generally recommend it for a first candle.
Candle making safety
- Never leave melting wax alone. Turn the burner off if you have to step away.
- No direct heat on the wax. There is always water between the burner and the wax.
- Use a thermometer. Take the wax off the heat when it reaches its target, not when it looks ready.
- Never pour water on a wax fire. Burning wax acts like a grease fire. Turn off the heat and cover it with a lid or fire blanket, or use an extinguisher.
- Keep water out of hot wax. Even a splash makes it spit and burn.
- Ventilate. Open a window or run the hood fan while the fragrance is hot.
- Retire the pot from food. A pitcher or jar used for wax stays a wax tool.
Fix tunneling, sinkholes, frosting and wet spots
The four problems every first batch runs into, with the fix CandleScience gives for each.
- Tunneling. Burn it about 1 hour per inch of jar width each time. If the melt pool still doesn't reach the edge, the wick is too small: go up one size.
- Sinkholes. Poke the dip a few times with a skewer to release trapped air, then fill it with your saved wax or melt the top with a heat gun.
- Frosting. White crystals on soy are cosmetic. Stir gently, warm the jars, pour 5°F cooler and let the candles cool slowly.
- Wet spots. Patches where wax pulled off the glass. Warm the jars to about 100°F and space candles apart as they cool; the burn is unaffected.
Make candles with your team
Want someone else to run it? Our Candle Making class is 60 minutes with a live instructor on your team’s video call, on Zoom by default, or Teams, Google Meet or Webex on request.
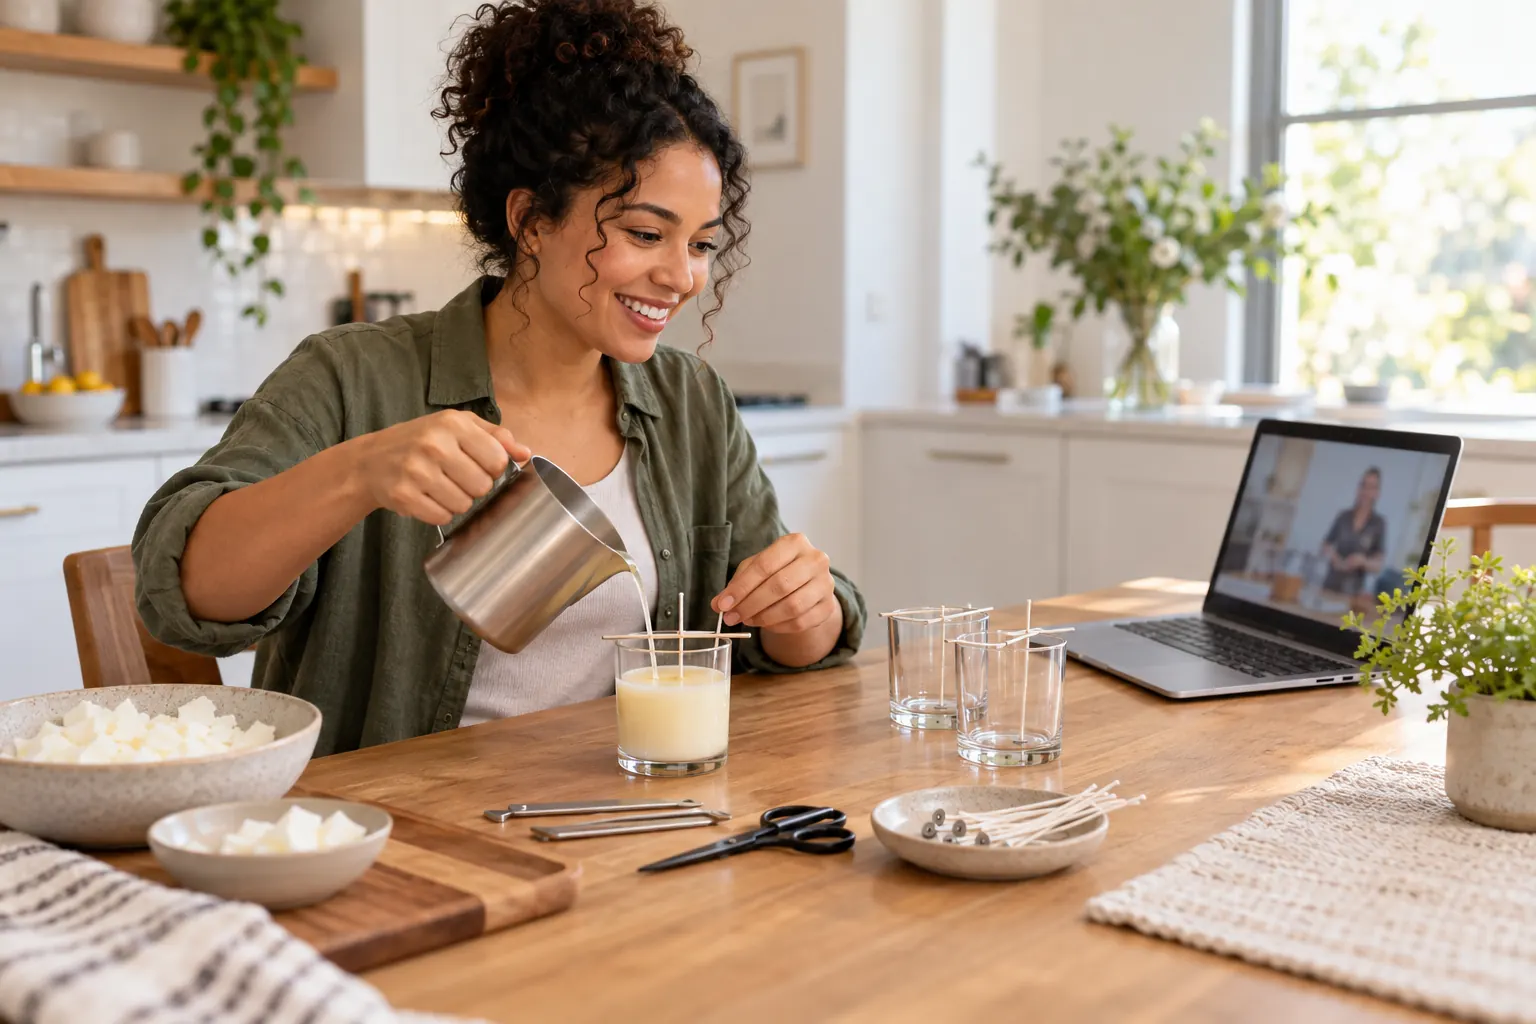
- A kit at every door. Two candle votives, premium soy wax, a microwaveable melting container, three essential oils, wicks, wick holders and wick stickers.
- No special gear. Each person needs a microwave, or a stovetop with a pot and a heat-safe bowl: the double boiler from this page.
- Lead time. Book at least 16 days ahead; about 3 weeks gives everyone time to send an address. International addresses need 3 to 4 weeks. December dates fill first.
- Split time zones. It can run as two sessions, and people can join from home or together from the office.
Candle Making, with today’s price.
More hands-on classes are in our virtual craft workshops and team building kits. For why a calm craft works for a busy team, read our candle making workshops post and these stress management activities. Planning a December party online? Pair it with these online Christmas games, or get a free quote.